To troubleshoot a cordless power drill, first check the battery and ensure proper seating of the bit. If issues persist, consult your tool’s user manual for specific troubleshooting steps.
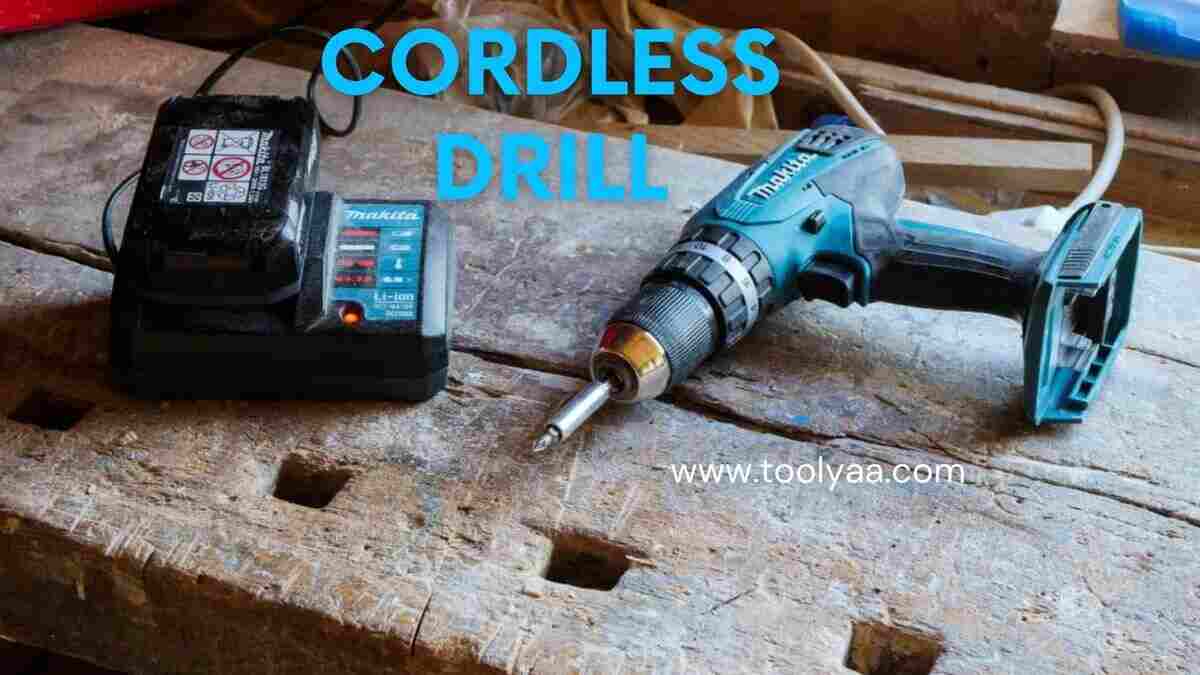
Dealing with a malfunctioning cordless power drill can be frustrating, especially when you’re right in the middle of a project. Power tool hiccups are common, but most can be resolved with some basic troubleshooting. A cordless drill, an indispensable tool for DIY enthusiasts and professionals alike, may experience issues ranging from insufficient power to erratic performance.
Knowing how to quickly identify and fix these problems can save time and extend the life of your tool. Our quick guide will walk you through common difficulties and simple solutions, ensuring that your drill is up and running with minimal downtime. With the right approach, most drill troubles are a mere hiccup rather than a full stop on your work.
Troubleshooting Cordless Power Drills
Cordless power drills are a mainstay in both home workshops and professional toolkits. Their convenience and mobility make them indispensable for a wide array of drilling and driving tasks. However, like all tools, they can encounter issues that hinder their performance. Understanding how to effectively troubleshoot your cordless power drill ensures minimal downtime and extends the lifespan of your tool. Here, we dive into the common problems that can arise and outline practical steps to diagnose and fix them.
Identifying The Problem: Power Issues, Mechanical Failures, Or Performance Inconsistencies
Diagnosing your cordless power drill starts with identifying the root cause of the issue. Symptoms might include a lack of power, unusual noises, or inconsistent performance. These problems often fall into three main categories: power-related issues, mechanical failures, or performance inconsistencies. Keeping an eye out for warning signs like difficulty in starting, loss of torque, or unexpected power cuts can quickly clue you in on the nature of the problem.
First Steps In Troubleshooting: Safety Measures And Preparation
Before diving into any repairs, it’s crucial to prioritize safety. Start by removing the battery to prevent any accidental starts. This also gives you a chance to inspect the battery contacts and terminals for dirt, debris, or signs of corrosion. Check the drill’s vent for blockages and confirm that the switch operates smoothly. A clean, well-prepared drill is not only safer to troubleshoot but also easier to diagnose.
Common Tools And Resources Needed For Effective Troubleshooting
- Voltmeter: To check the battery capacity and health.
- Canned Air: For cleaning vents, contacts, and other components.
- Screwdrivers: To open the housing if necessary.
- Lubricant: To address any mechanical stiffness or noise.
- User Manual: Crucial for specific guidances and troubleshooting steps.
Assembling these tools provides a strong foundation for effectively troubleshooting most issues you’ll encounter with your cordless power drill. With the right resources at hand, you can confidently address problems and maintain the efficiency and longevity of your tool.
Identifying Common Drill Issues
Your cordless power drill is an essential tool in your DIY arsenal, but when it starts acting up, it can halt your projects in their tracks. Understanding the root causes of common drill problems can save you time and frustration, allowing you to get back to work quickly. We’ve broken down these issues into three main categories – power failures, mechanical problems, and performance issues.
Power Failures: Battery, Charger, And Electrical Faults
Cordless drill power issues often stem from the battery, charger, or internal electrical faults. Symptoms like a drill that won’t start, unexpected power loss, or an inability to hold a charge point to these types of issues. Consider the following when troubleshooting:
- Check the battery: Ensure it’s properly seated and has no visible damage.
- Examine the charger: Look for signs of wear or damage. A multimeter can confirm whether it’s delivering the correct voltage.
- Internal wiring: A continuity test can help identify any wiring issues inside the drill.
Mechanical Problems: Chuck Issues, Gear And Clutch Malfunctions
Mechanical hiccups can arise in the form of chuck issues or with the gear and clutch system. A chuck that won’t hold bits, grinding noises, or a slipping clutch are common indicators. Address these as follows:
- Inspect the chuck: Clean any debris and ensure it tightens correctly.
- Gears and clutch: Listen for unusual sounds that may suggest these components are worn or require lubrication.
Performance Issues: Irregular Speeds, Torque Problems, And Overheating
Lastly, if your drill is suffering from inconsistent speeds, torque settings not holding, or it gets unusually hot, you’re dealing with performance issues. To remedy these concerns, check the following:
| Issue | Troubleshooting Step |
|---|---|
| Irregular Speeds | Examine the speed control switch and its connections. |
| Torque Problems | Verify that the torque adjustment ring clicks into place at each setting. |
| Overheating | Allow the drill to cool down and check for blocked ventilation slots or an overworked motor. |
Maximizing Drill Performance
Maximizing Drill Performance is crucial to getting the most out of your cordless power drills. Whether it’s a professional job or a DIY project, the efficiency and longevity of your tools depend on how well they’re maintained and used. In this comprehensive guide, you’ll discover the essentials of regular maintenance, battery care, and correct usage to keep your drill running smoothly. Follow these expert tips to troubleshoot common issues and extend the life of your cordless drill.
Regular Maintenance Routines for Long-Term Drill HealthRegular Maintenance Routines For Long-term Drill Health
Establishing a regular maintenance schedule is the first step to ensuring your drill stays in tip-top shape. Dirt, debris, and excess lubricant can hinder your drill’s performance. Follow these simple steps to maintain your drill:
- Clean the air vents frequently to prevent overheating.
- Inspect the chuck regularly for wear and ensure it’s tightened properly.
- Apply lubricant to moving parts as specified by the manufacturer.
- Check for loose screws or parts and tighten as necessary.
Make it a habit to wipe down your drill after use with a clean cloth to remove any dirt or grime. A consistently maintained drill keeps it operating at its best.
Best Practices for Battery Care and StorageBest Practices For Battery Care And Storage
Your drill’s battery is its lifeline. Proper care and storage can greatly impact its lifespan and effectiveness. Here are best practices to keep your cordless drill’s battery in peak condition:
- Charge batteries according to the manufacturer’s instructions to prevent overcharging.
- Store batteries in a cool, dry place and avoid extreme temperatures.
- Keep the contacts clean and free from debris to ensure a good connection.
- For lithium-ion batteries, maintain a partial charge if not in use for extended periods.
Remember, a well-cared-for battery ensures your drill is ready for action whenever you need it.
Appropriate Drill Usage to Prevent Premature Wear and TearAppropriate Drill Usage To Prevent Premature Wear And Tear
Using your drill correctly can make a significant difference in its lifespan. Here’s how to avoid unnecessary strain on your power tool:
| Do’s | Don’ts |
|---|---|
| Use the right drill bit for the material. | Force the drill into the material. |
| Allow the drill to do the work at its own pace. | Overload the drill by applying excessive pressure. |
| Keep the drill straight to prevent bit breakage. | Operate the drill at an angle. |
Adhering to these usage guidelines will minimize wear and tear, safeguarding your investment and ensuring your projects are always on point.
Resolving Power And Battery Hiccups
Cordless power drills have revolutionized DIY and professional work alike, offering unparalleled convenience and portability. But like all tools, they’re prone to certain issues, particularly related to power and battery performance. A drill that won’t hold a charge or seems to lack power can bring your project to a standstill. This guide will walk you through how to assess battery life, address charging problems, and discern whether a battery needs replacement or repair.
Step-by-step Guide For Assessing Battery Life And Charging Problems
- Check the battery charge level. Insert the battery into the drill and look at the indicator (if available). A low charge may require a simple recharging.
- Inspect the charger and contacts. Ensure the charger is plugged in and the outlet is functional. Clean the battery contacts with a dry cloth to ensure a good connection.
- Try charging the battery for the recommended time. If the battery doesn’t hold a charge, it may be defective or at the end of its lifespan.
- Test with another battery (if available) to determine if the issue is with the battery or the drill itself.
How To Troubleshoot And Fix Power Connection Issues
- Examine the power connections of the drill. Loose or damaged terminals can lead to intermittent power or failure to operate.
- Tighten any loose connections, but ensure the drill is off and the battery removed before attempting any fixes.
- If the battery seems to die quickly, consider a calibration cycle. Use the drill until it stops, then fully charge the battery.
- For recurring issues, consult the manual or manufacturer support as the drill may have a more complex issue.
When To Replace Versus Repair Drill Batteries
| Issue | Replace | Repair |
|---|---|---|
| Not Holding Charge | Often indicates end of lifespan, consider replacement. | Rarely repairable, batteries have a limited number of charge cycles. |
| Damaged Contacts | Severe damage usually requires replacement. | If damage is minor, cleaning or slight adjustment may fix the issue. |
| Physical Damage | Physical damage (like a cracked case) needs a replacement to ensure safety. | Generally not advisable to repair for safety reasons. |
Understanding the distinction between when to replace or repair a battery can save you time and money. Modern lithium-ion batteries rarely require repairs; they are typically replaced once they fail to hold a proper charge. Nonetheless, ensuring proper battery maintenance can prolong the life of your cordless drill’s battery, thus avoiding frequent replacements.
Handling Mechanical Drill Failures
When your trusty cordless power drill starts acting up, it might throw a wrench in your DIY plans. Mechanical drill failures can occur due to various reasons such as wear and tear, improper usage, or manufacturing defects. Before you consider replacing your tool, let’s dig into some common issues and their potential fixes that can save both time and money.
Instructions For Fixing Chuck And Bit Retention Troubles
Struggling with a chuck that won’t hold the bit firmly in place? This could lead to a wobbly performance or even a complete inability to use the drill. To fix this:
- Ensure the chuck is clean; debris inside can affect grip.
- Check if the chuck’s teeth are worn out and require replacement.
- If the chuck is loose, tighten it according to the manufacturer’s instructions, which may require a chuck key or may be a hand tightened model.
- In the case of a keyless chuck, make sure you are turning it in the correct direction to secure the bit.
Remember that a bad chuck can compromise your drill’s efficiency, so tackling these issues ensures persistent accuracy and safety.
Gear And Clutch Malfunction: Symptoms And Solutions
Gear and clutch issues can diminish the versatility of your cordless drill, leading to unsatisfactory performance. Common symptoms include:
- Drill slipping at certain speeds or clutch settings.
- Strange grinding or whirring noises.
- Drill not transmitting any torque even when powered.
- Inspect the clutch settings to make sure they’re suited for the task at hand; adjust if necessary.
- Lubricate the gears regularly with appropriate oil as per the drill’s manual.
- If the problem persists, disassemble the casing and inspect the gears for damage. Replacement might be needed if damage is significant.
Regular maintenance and promptly addressing these symptoms can significantly extend the life of your power drill.
Techniques To Manage And Redeem Overheating Drills
Overheating is a red flag that your cordless drill needs immediate attention. To manage and redeem an overheating drill:
- Allow the drill to rest and cool down if it becomes too hot to touch.
- Check ventilation ports for blockages and clear any debris to improve airflow.
- Replace old or damaged batteries that may cause excessive heat during operation.
- Operate at lower speed settings to reduce friction and accumulated heat in the motor.
- If overheating persists, inspect internal components such as the motor and switch for damage. Service or replace as necessary.
Preventive measures and proper handling can keep your cordless drill from reaching its boiling point, thus securing your investment.
Credit: ruwag.co.uk
Frequently Asked Questions For How To Troubleshoot Common Issues With Cordless Power Drills
Why Is My Cordless Drill Not Working?
Cordless drills may fail due to a dead battery, faulty charger, or worn-out motor brushes. First, ensure the battery is properly charged. If it’s charged but still not working, check the charger. If both are fine, the motor brushes might need replacing.
How Do I Fix A Drill That Won’t Rotate?
If your drill won’t rotate, the gearbox could be jammed or the chuck might be overtightened. Start by loosening the chuck to free any bit stuck. If that doesn’t work, inspect the gearbox for obstructions or signs of damage, which might require professional repair.
What Causes A Drill Chuck To Stick?
A stuck drill chuck commonly occurs due to over-tightening, dirt buildup, or rust. To resolve this, apply penetrating oil around the chuck, wait for a few minutes, and then gently tap it with a hammer to help loosen. Always clean the chuck regularly to prevent sticking.
Can Overuse Overheat A Cordless Power Drill?
Frequent or prolonged use can overheat a cordless drill’s motor or battery. To prevent this, avoid continuous use and allow the drill to rest and cool down after heavy or extended operation sessions. Check for adequate ventilation around the motor housing as well.
Conclusion
Troubleshooting a cordless power drill doesn’t have to be daunting. With the tips provided, tackling common issues becomes manageable. Remember, regular maintenance can prevent many problems. For those trickier glitches, refer back to this guide. Keep drilling efficiently with your trusty tool by your side!